
Opening a loan
Deposit a supported token as collateral and receive USDC instantly.
You need: a supported collateral token in your wallet and ETH for gas.
Step 1: Open the Borrow page
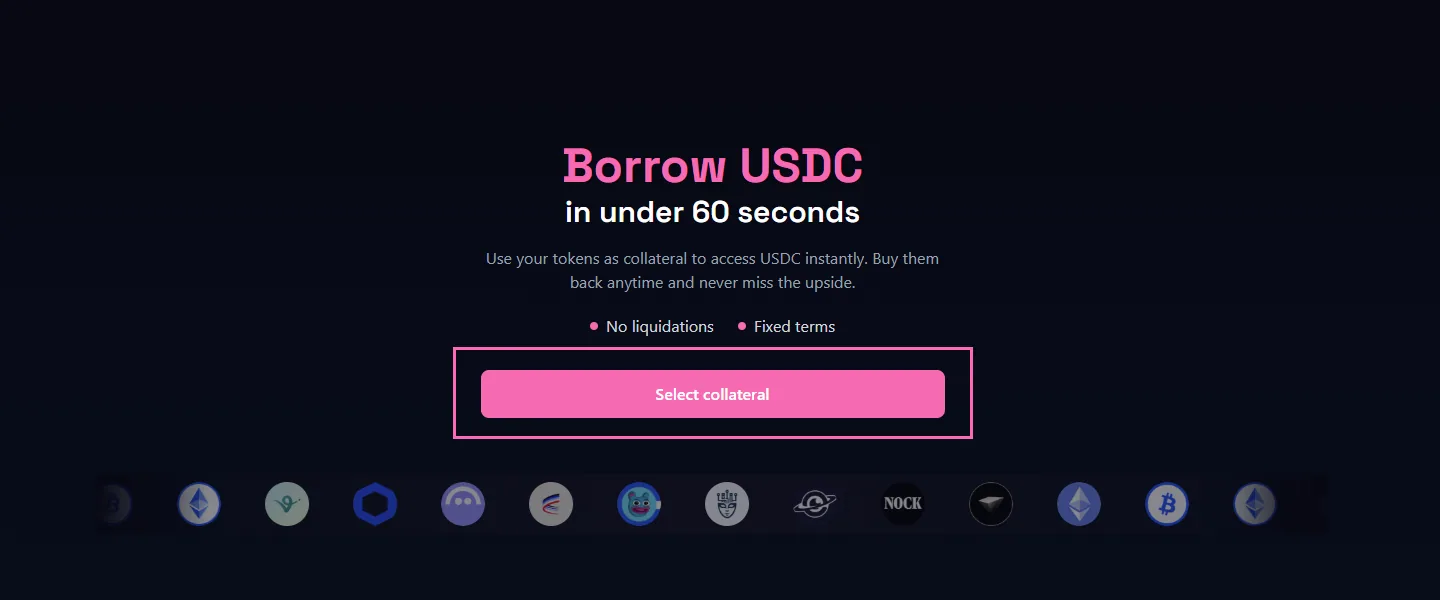
Click Borrow in the top navigation. If you have not opened a loan before, you will see the new borrower screen. Click Select collateral to begin.
Step 2: Choose your collateral
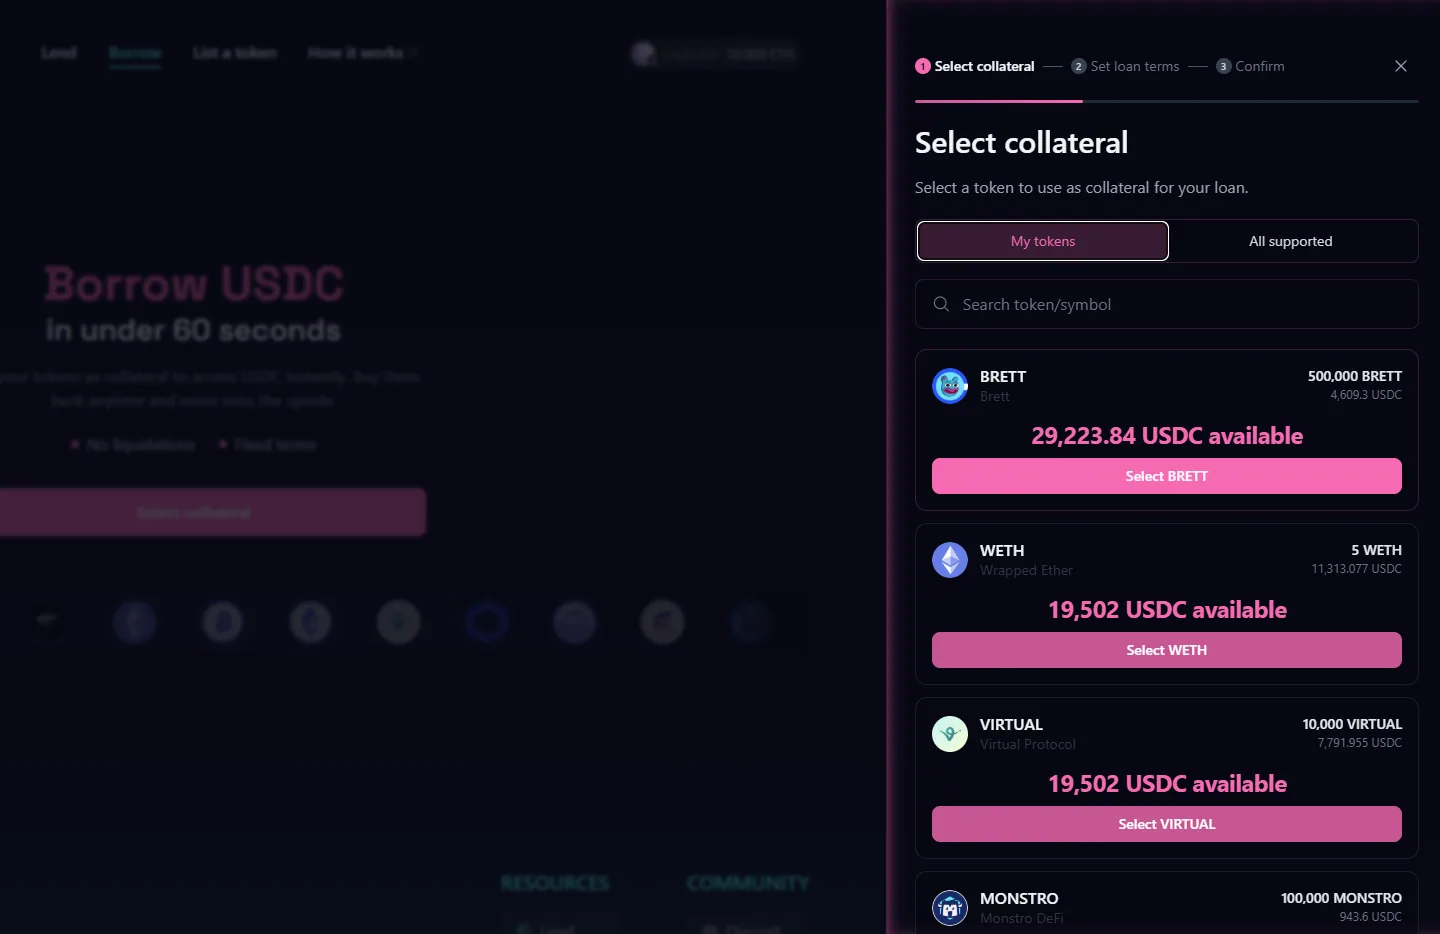
Select the token you want to borrow against. Only supported tokens appear here.
Step 3: Set your loan terms
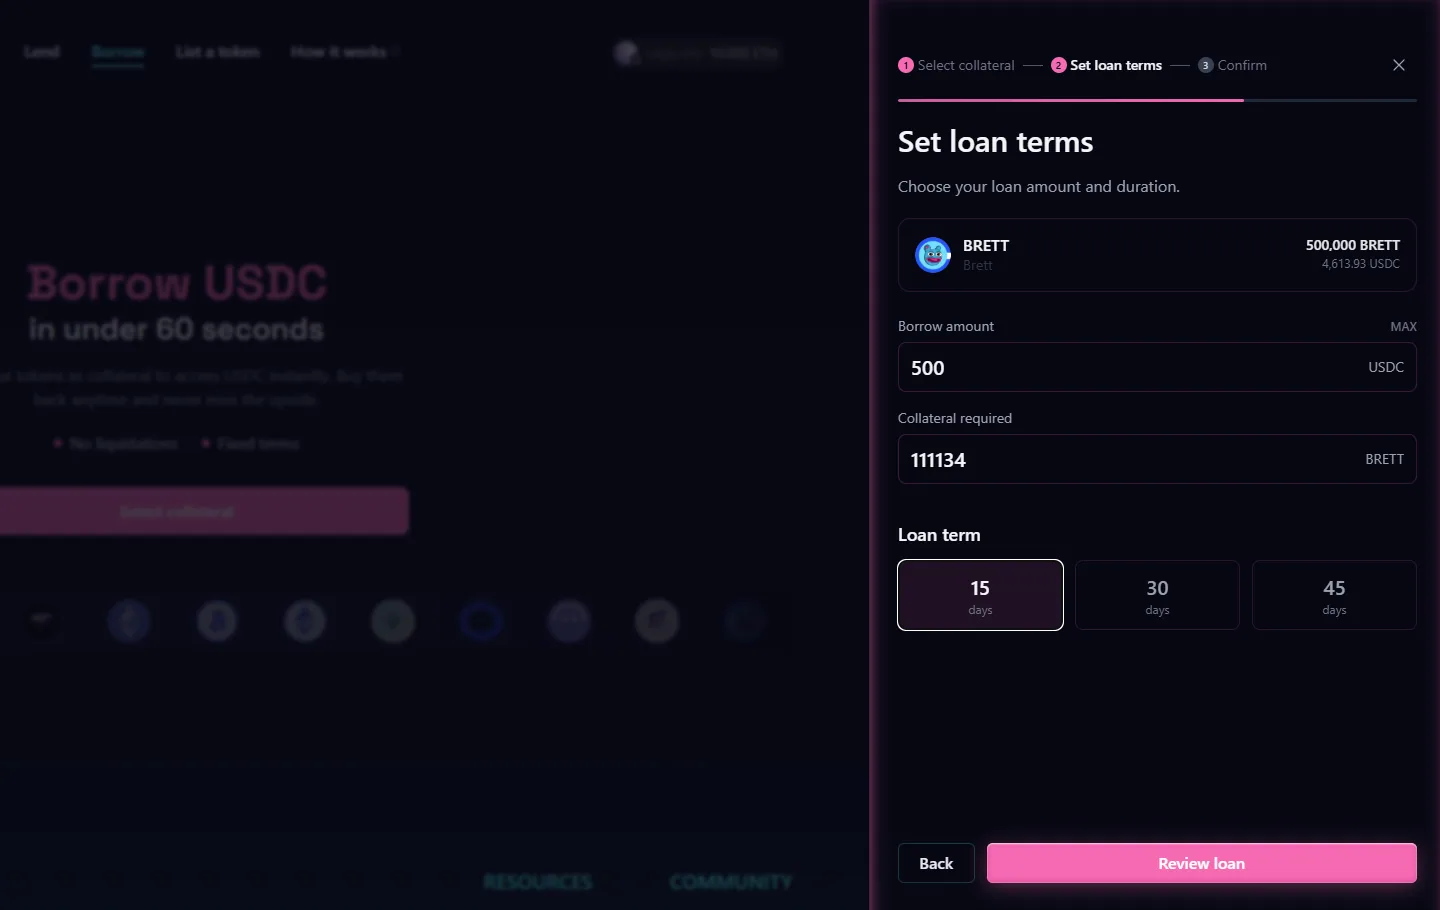
Enter how much collateral you want to deposit and choose your loan term: 15, 30, or 45 days. The interface shows the USDC you will receive and your buyback cost. You cannot change these after the loan opens.
Step 4: Review and confirm
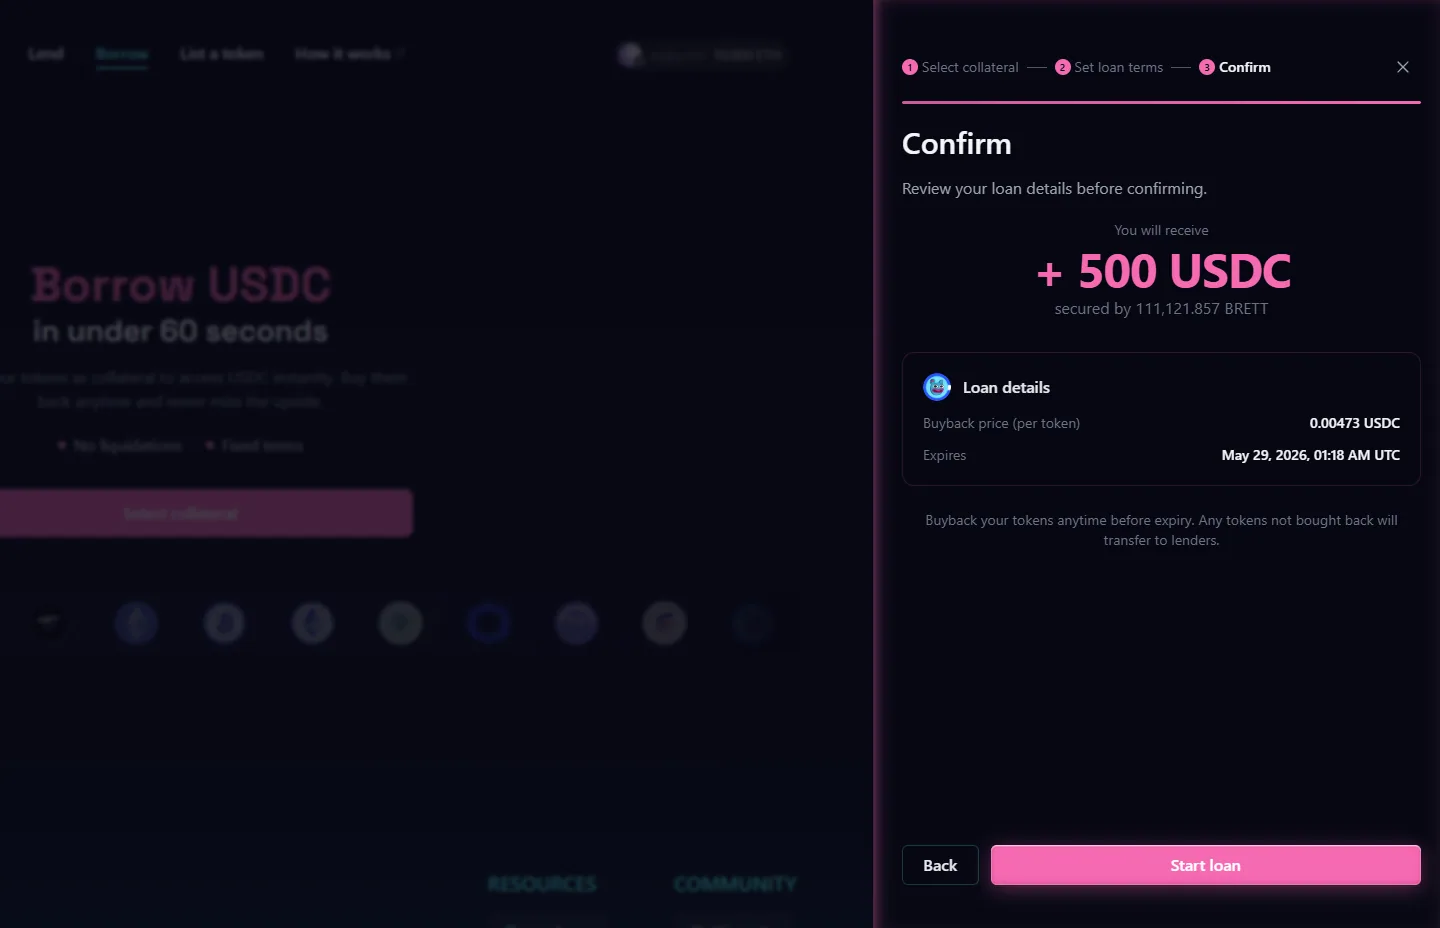
Check all the details: collateral amount, USDC you receive, protocol fee, buyback cost, and expiry date. Click Confirm when ready.
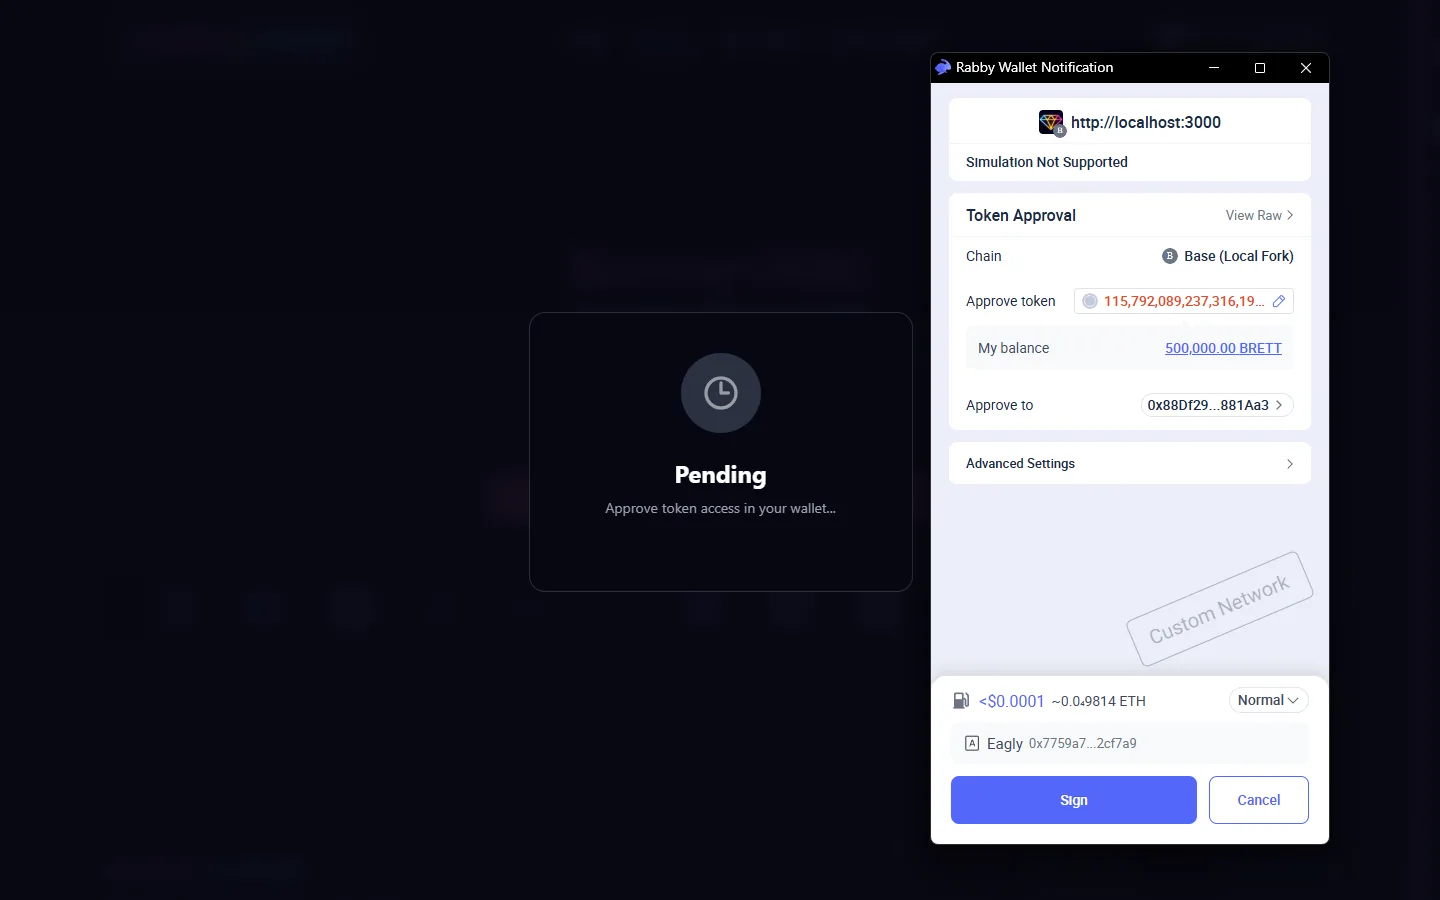
Step 5: Approve token access
The protocol needs permission to transfer your collateral. Sign the approval transaction in your wallet.
This only happens once per token.
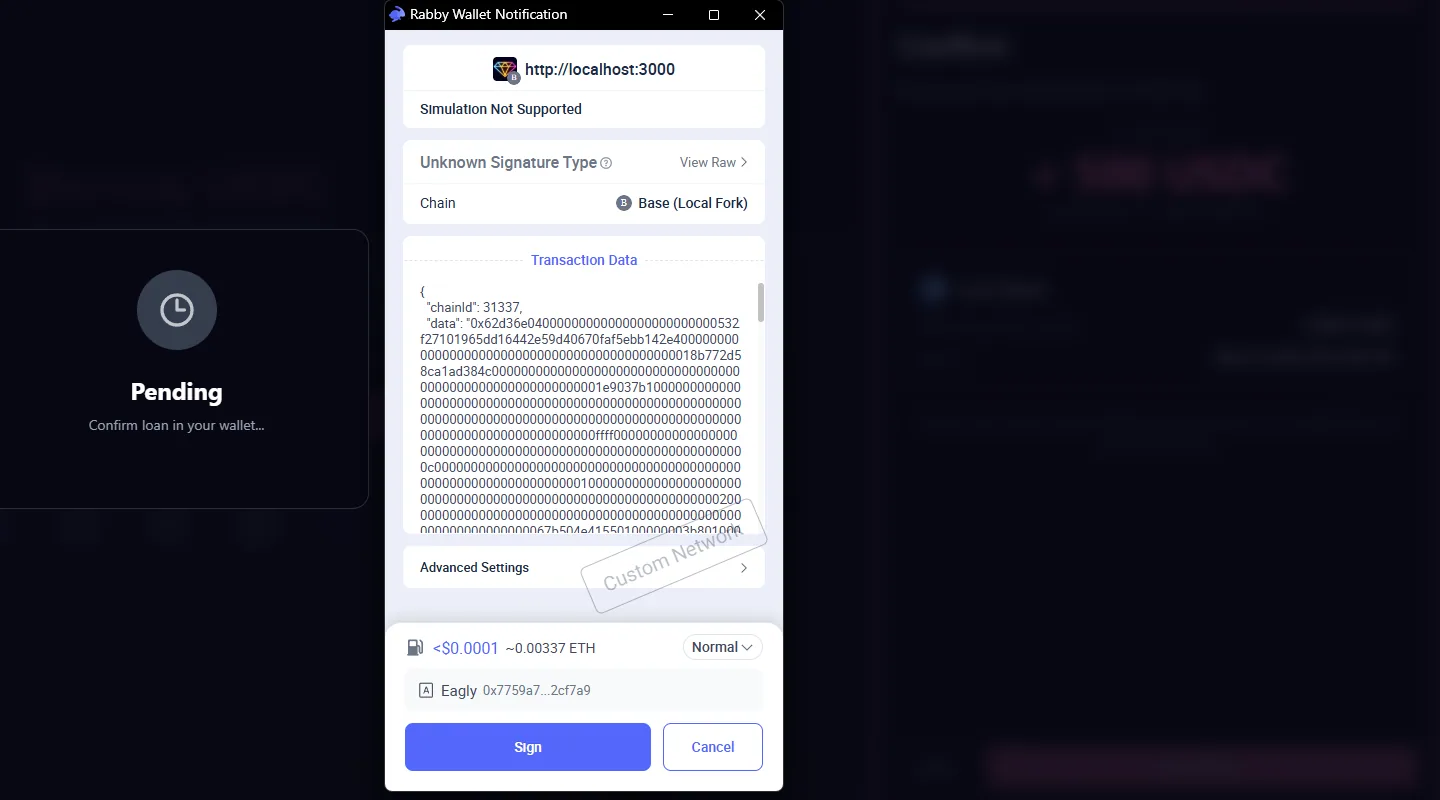
Step 6: Open the loan
Sign the loan transaction in your wallet. Your collateral is transferred and USDC is sent to your wallet.
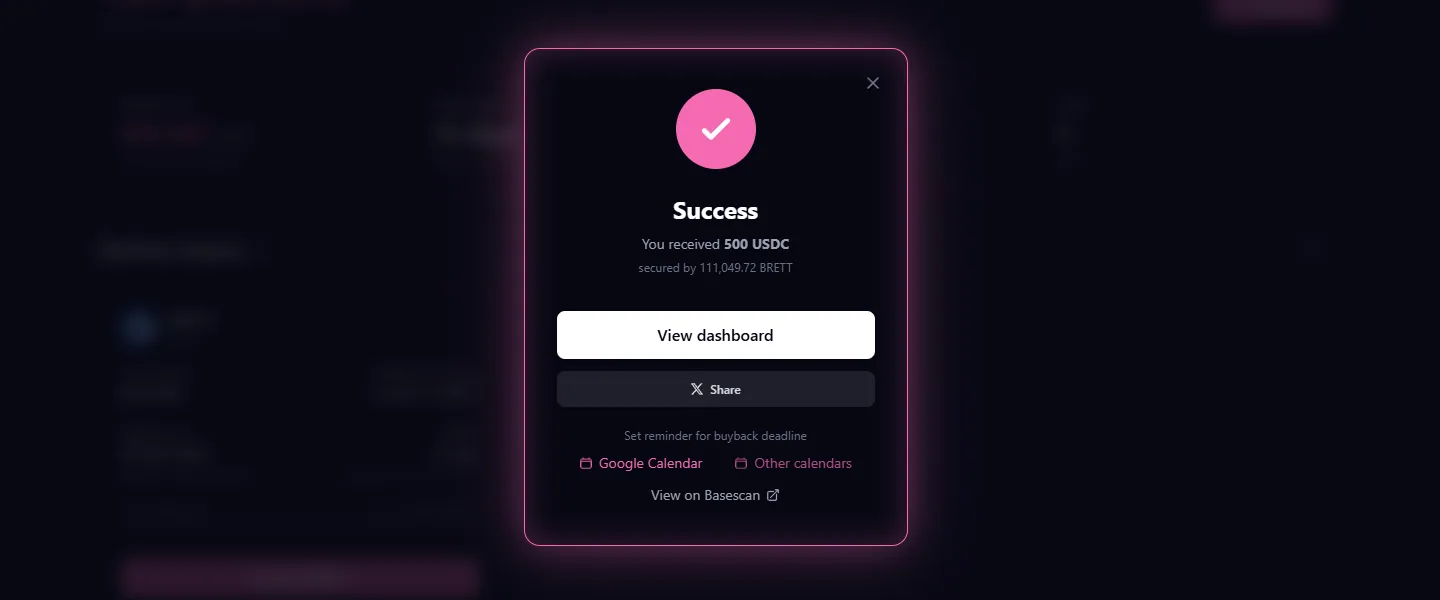
Step 7: Loan opened
You will see a success screen confirming your loan is live.
Step 8: Your borrow dashboard
Your active loan appears on the borrow dashboard with your buyback cost, collateral amount, and expiry date. The buyback cost is fixed and will not change.
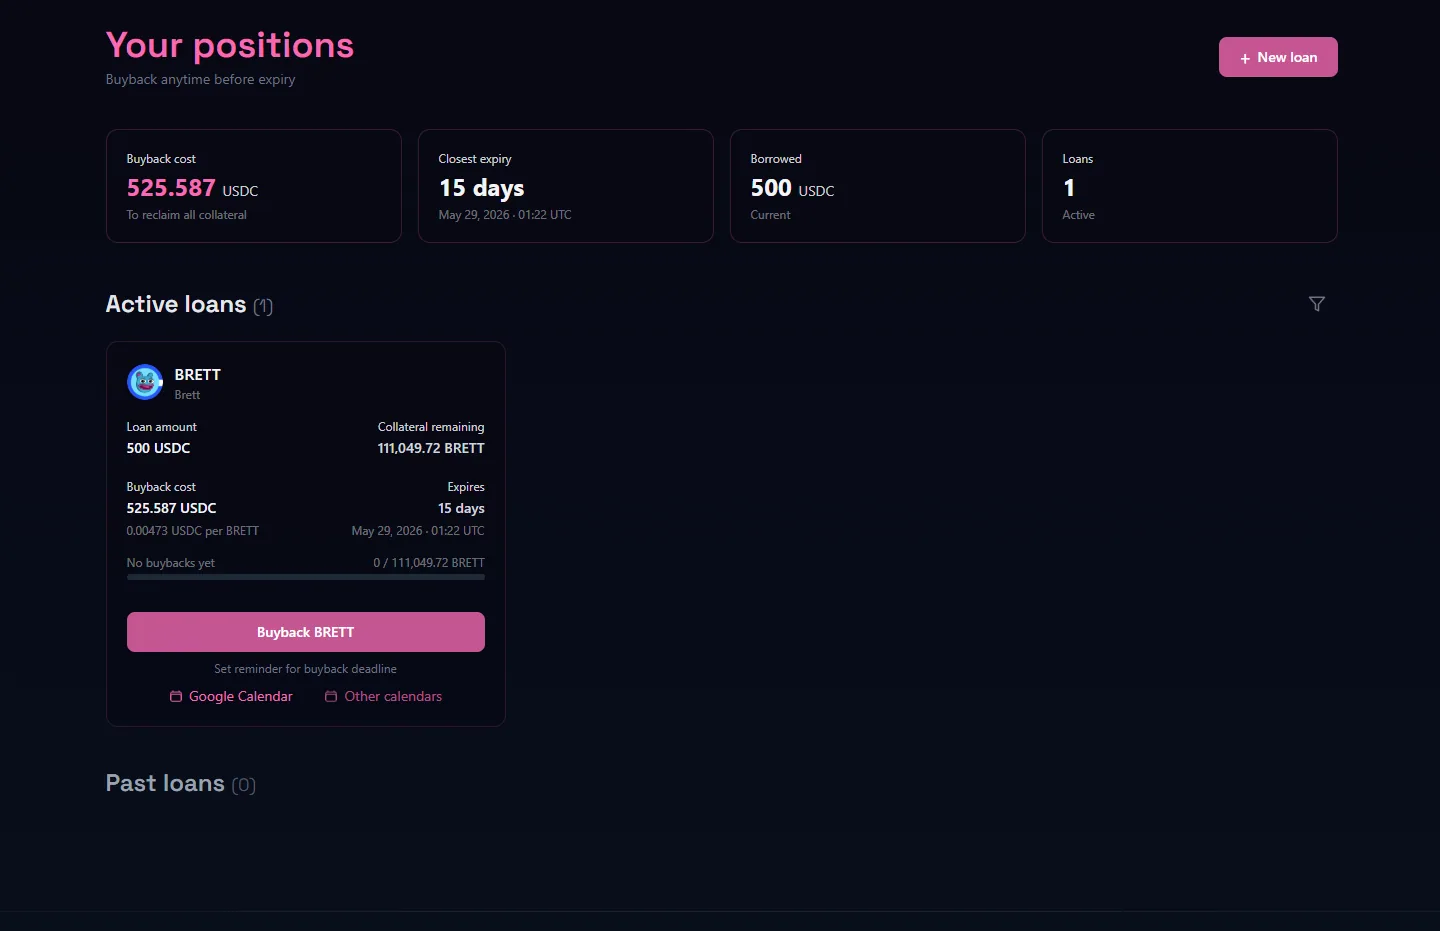
Set a reminder before your loan expires. Once the term ends, buyback is no longer possible and your collateral transfers to the lender.