
Depositing as a lender
Deposit USDC, choose your tokens, and start earning yield on matched loans.
You need: USDC on Base and ETH for gas.
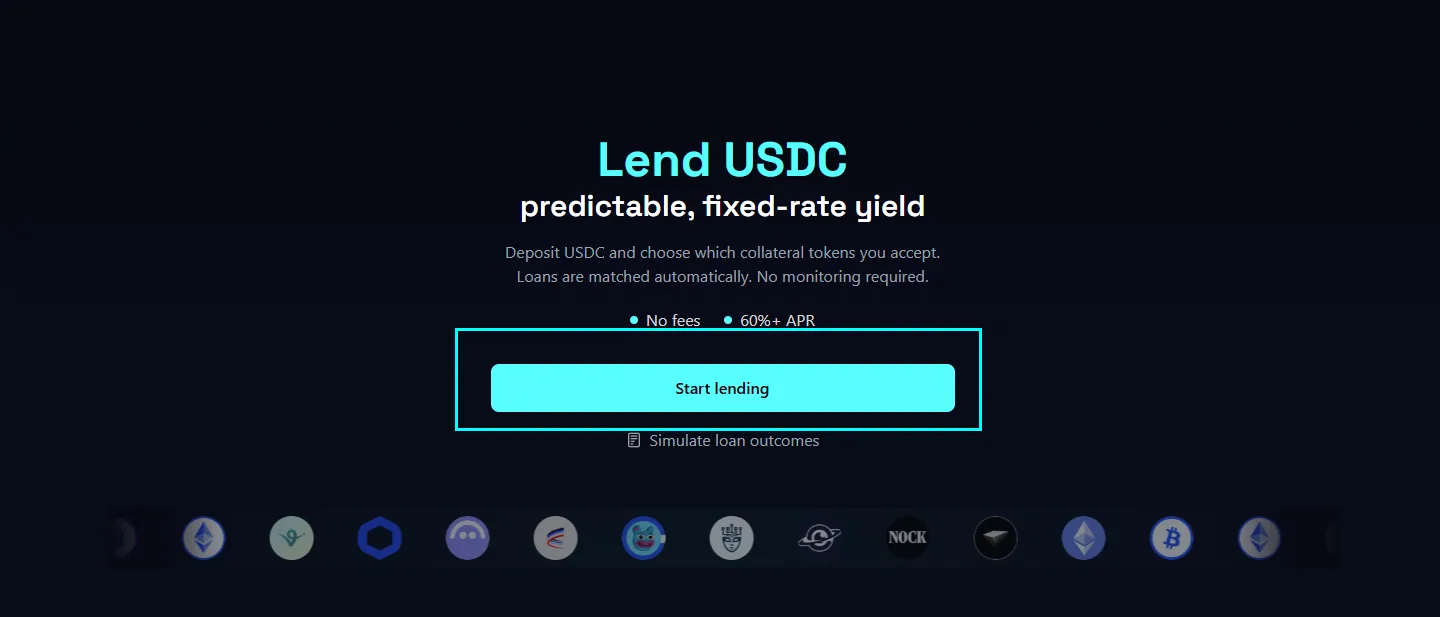
Step 1: Open the Lend page
Click Lend in the top navigation. If you have not deposited before, you will see the new lender screen. Click Start lending.
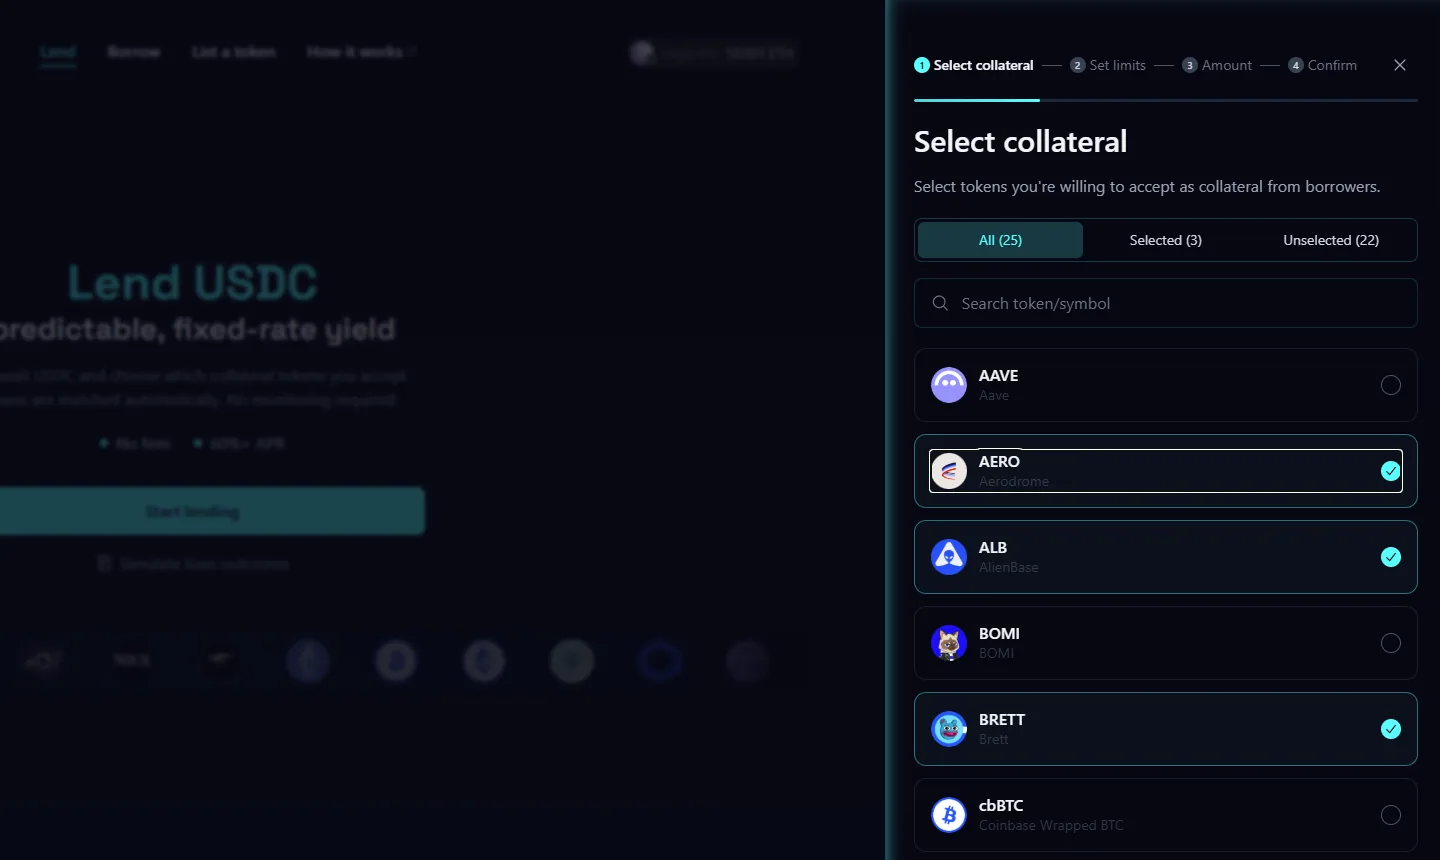
Step 2: Select your collateral tokens
Choose which tokens you are willing to accept as collateral. Only tokens you select here will ever back your loans. You can change this at any time after.
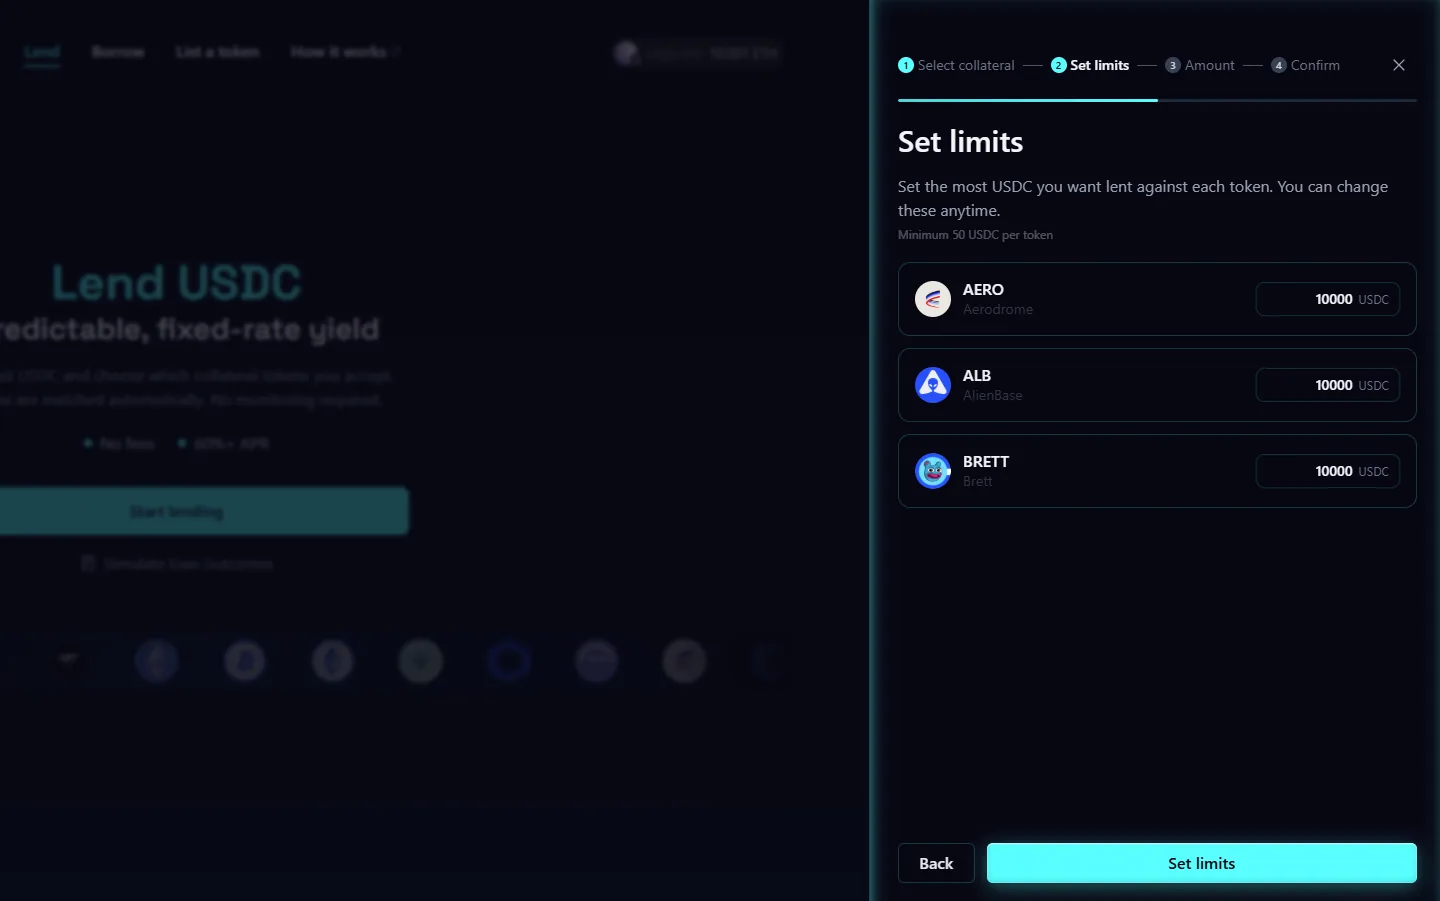
Step 3: Set your limits
For each token you selected, set a cap, the maximum USDC that can be matched to loans backed by that token. This controls how much of your deposit is at risk per asset.
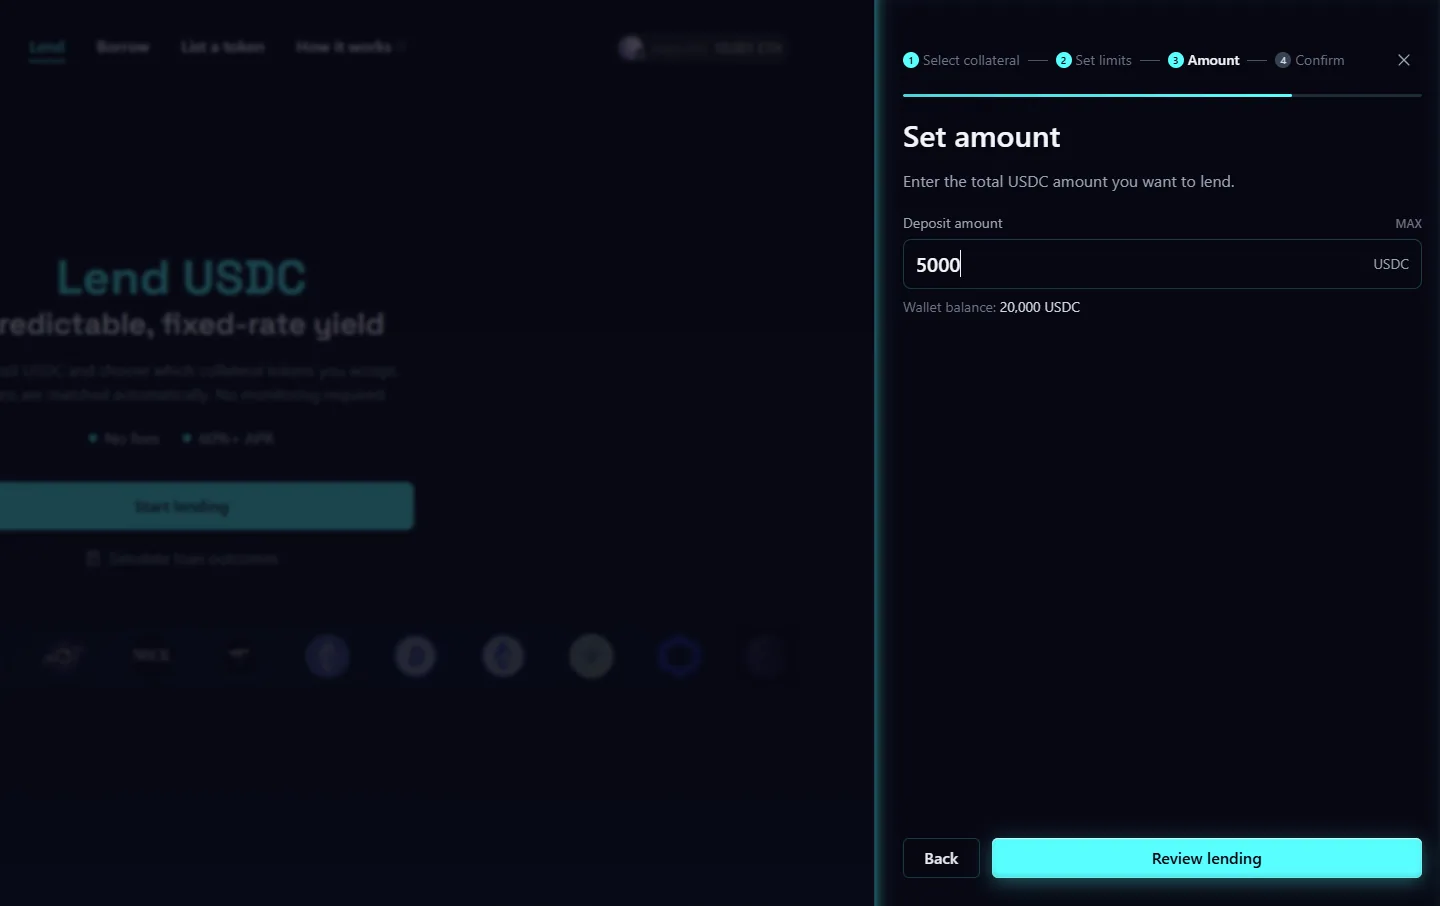
Step 4: Enter your deposit amount
Enter how much USDC you want to deposit. The minimum is $200.
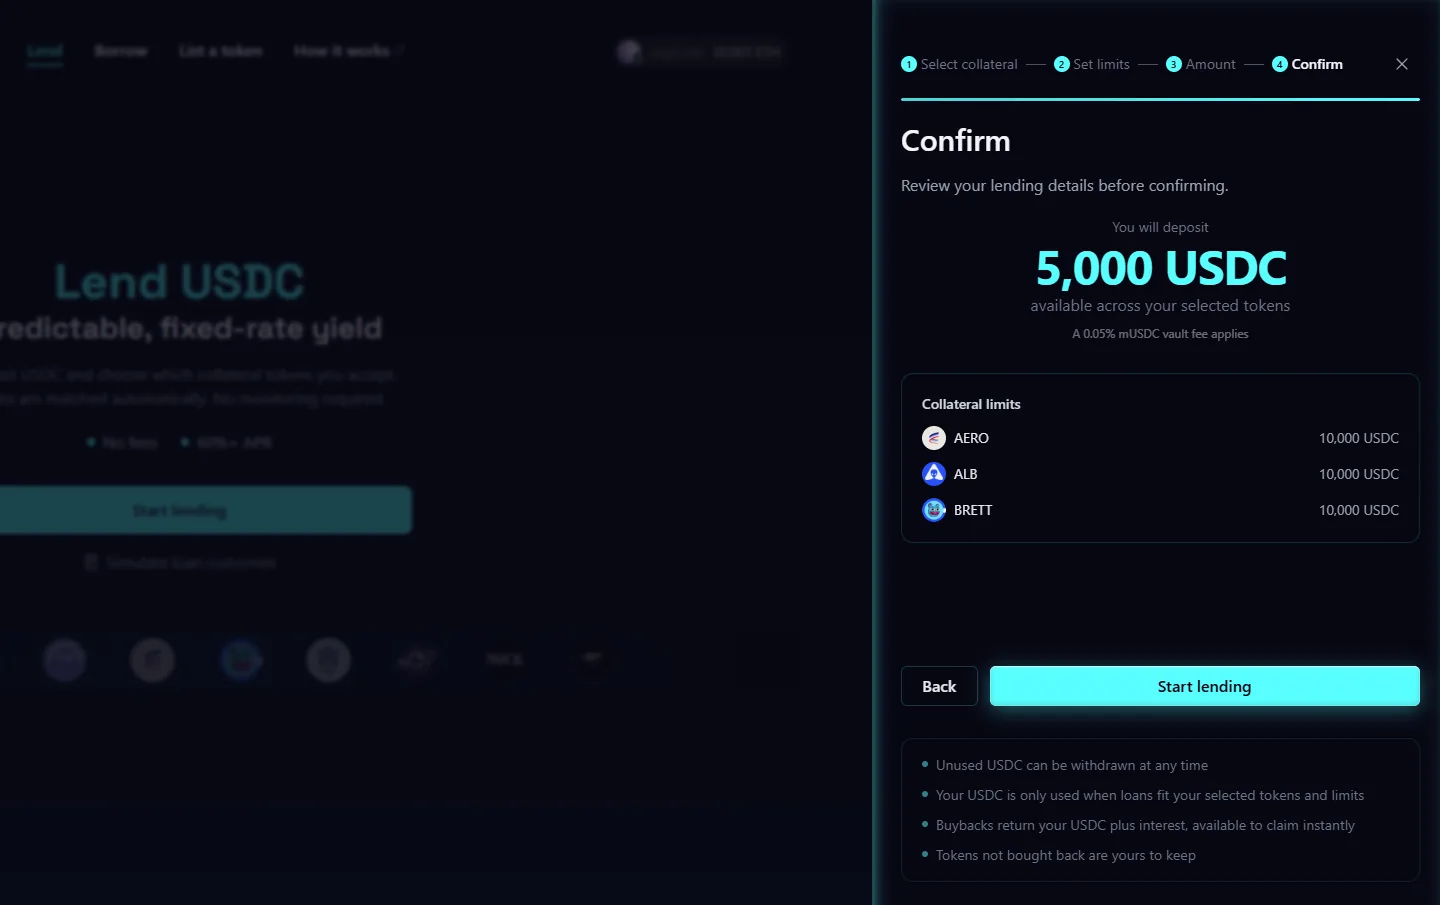
Step 5: Review and confirm
Check your collateral selections, caps, and deposit amount before proceeding. Click Confirm when ready.
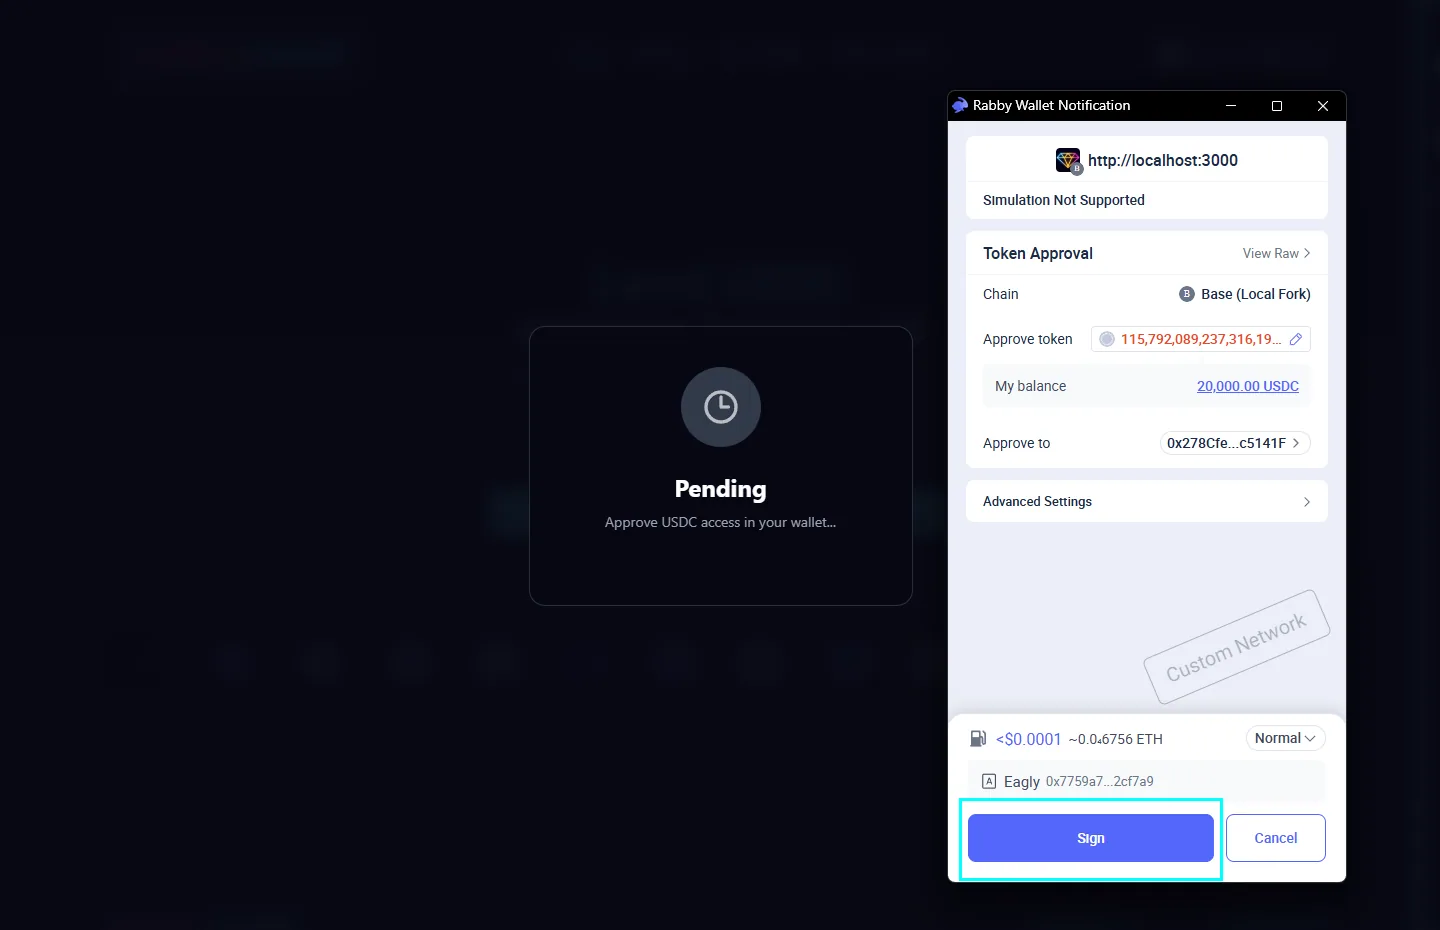
Step 6: Approve USDC
The protocol needs your approval to accept USDC. Click Approve and sign the transaction in your wallet.
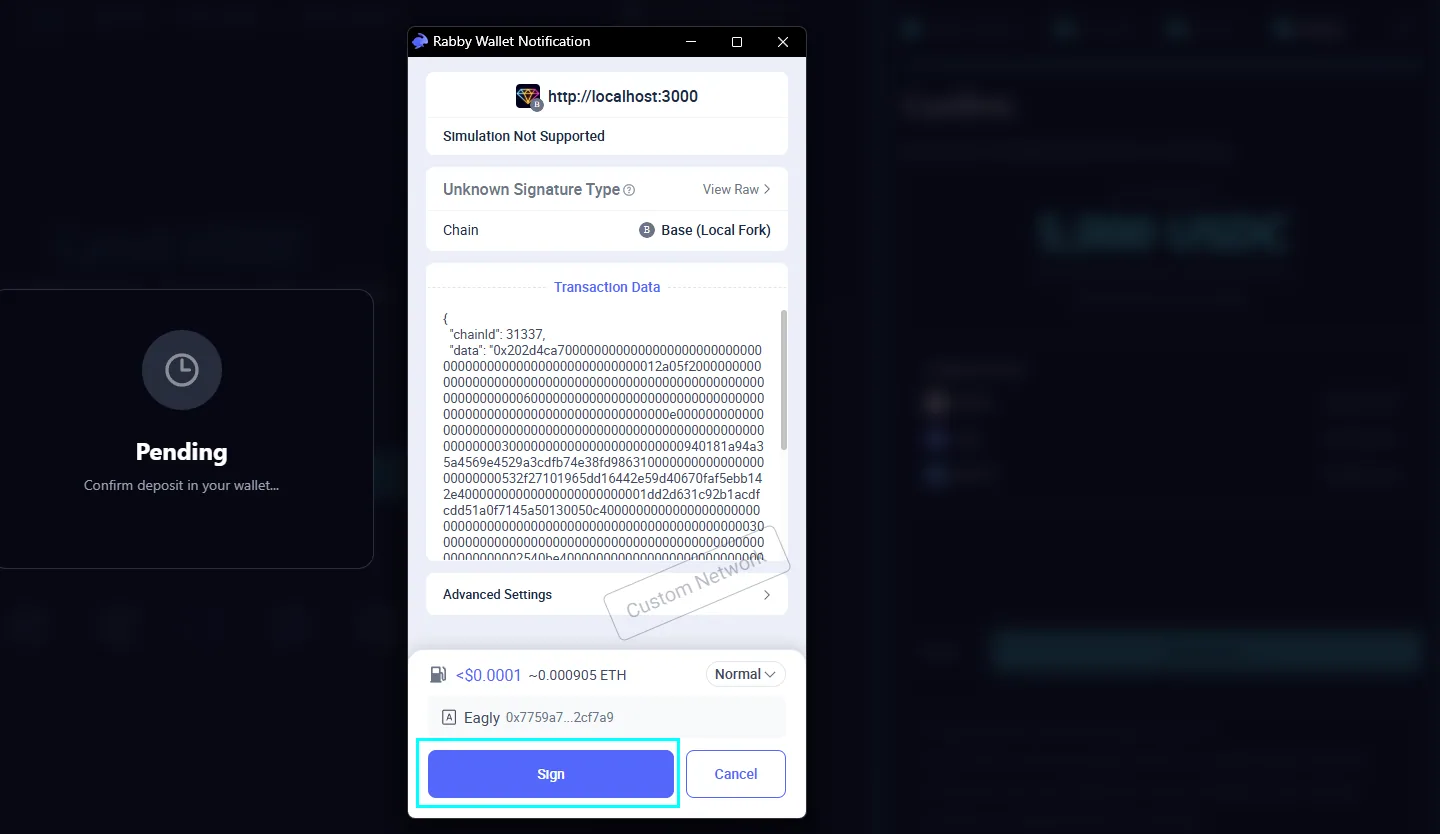
Step 7: Confirm the deposit
Once approval is done, sign the deposit transaction in your wallet to finalize everything.
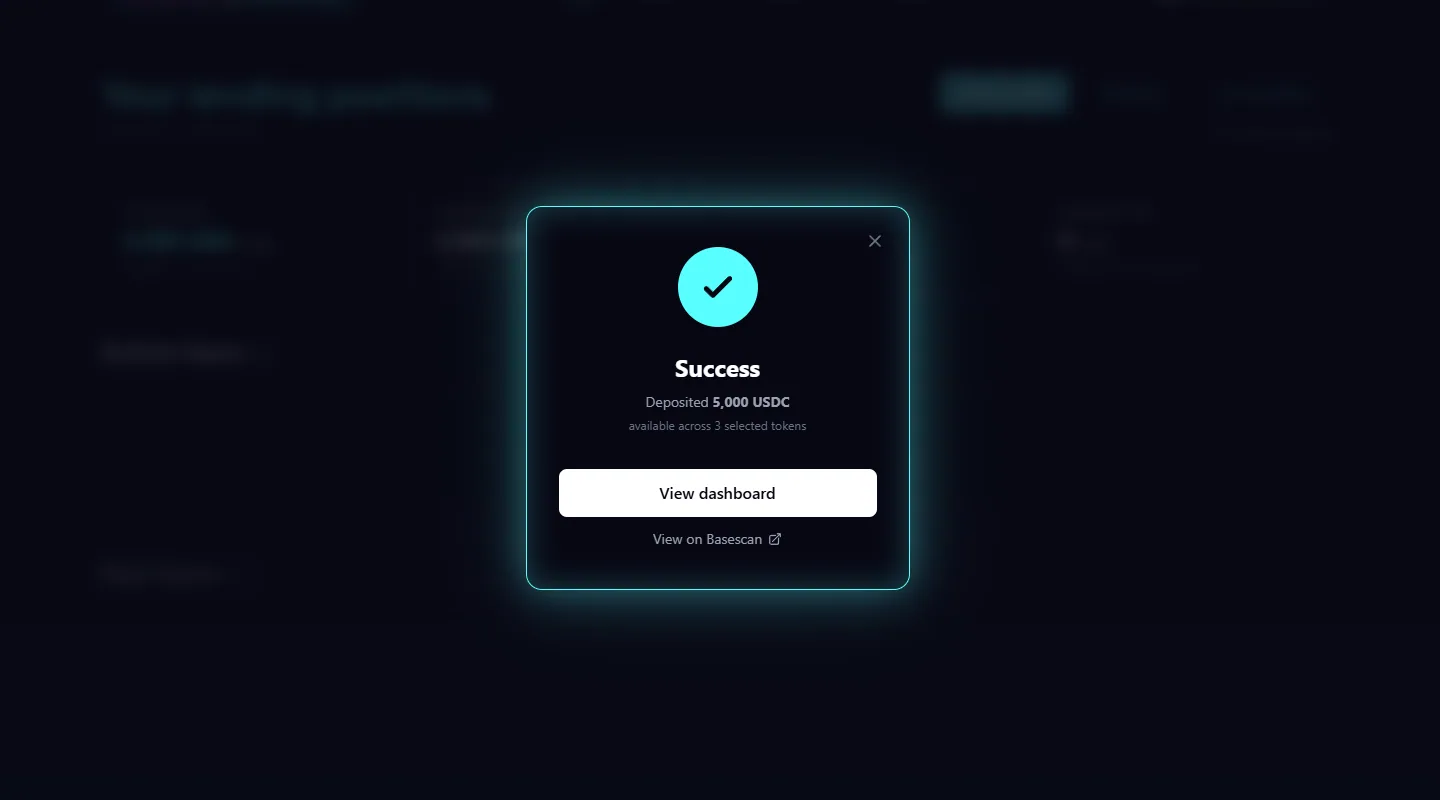
Step 8: Deposit confirmed
You will see a success screen. Your USDC is now in the protocol and your collateral settings are live.
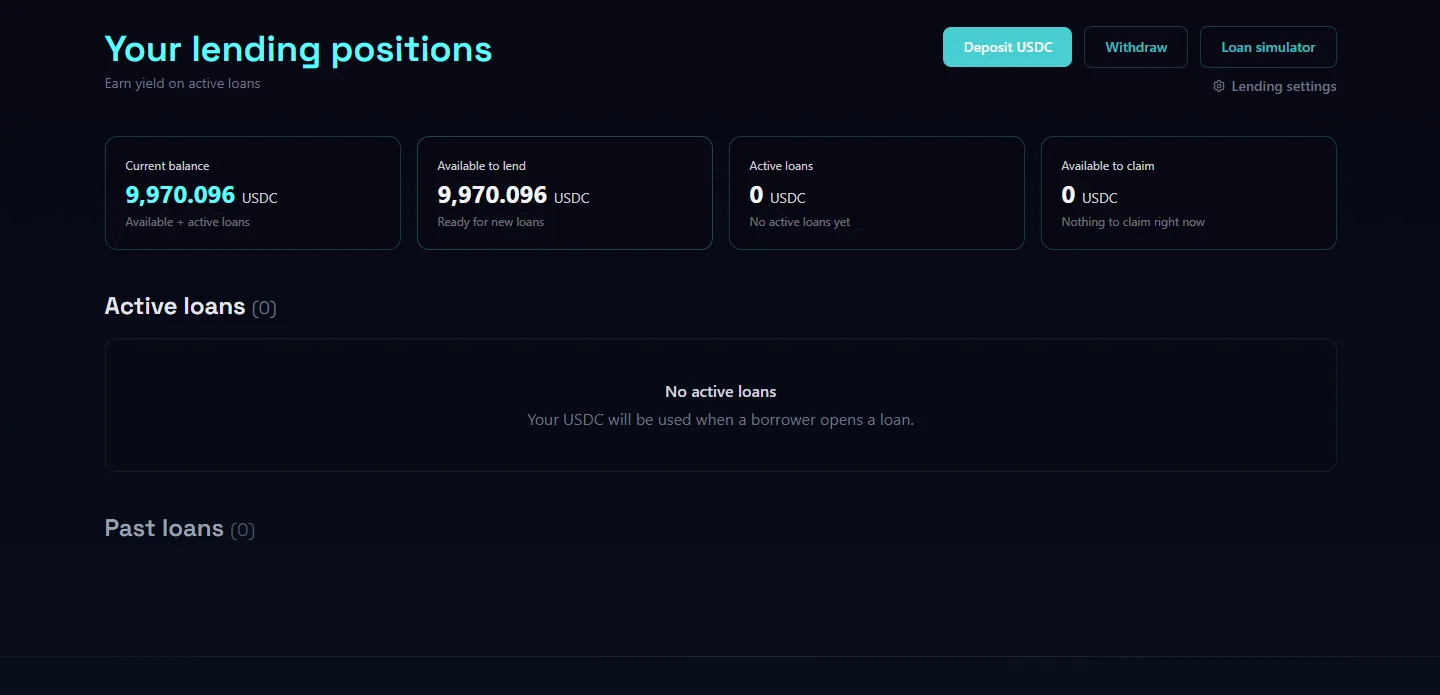
Step 9: Your lend dashboard
The dashboard shows your total deposit, how much is matched to active loans, and how much is idle. Matching happens automatically, nothing else to do.
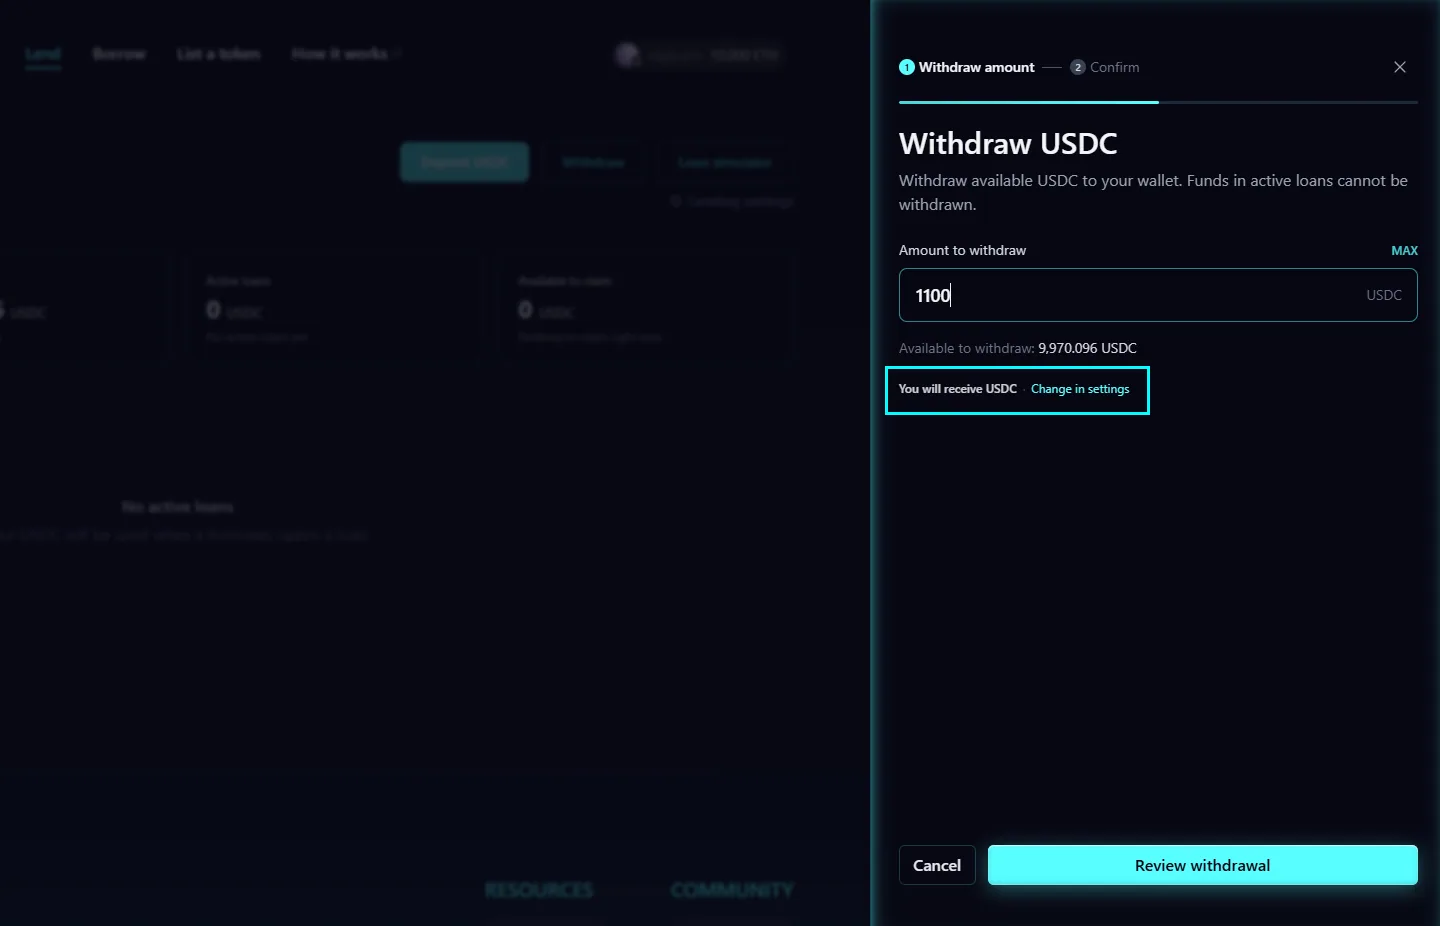
Withdrawing
To withdraw, open the withdraw panel from your dashboard. Note that only your idle (unmatched) USDC is available to withdraw. USDC matched to active loans is locked until those loans resolve.
Managing your settings
Click Lender settings at any time to adjust which tokens you back and update your caps. Changes take effect immediately for new loan matches and do not affect existing open loans.
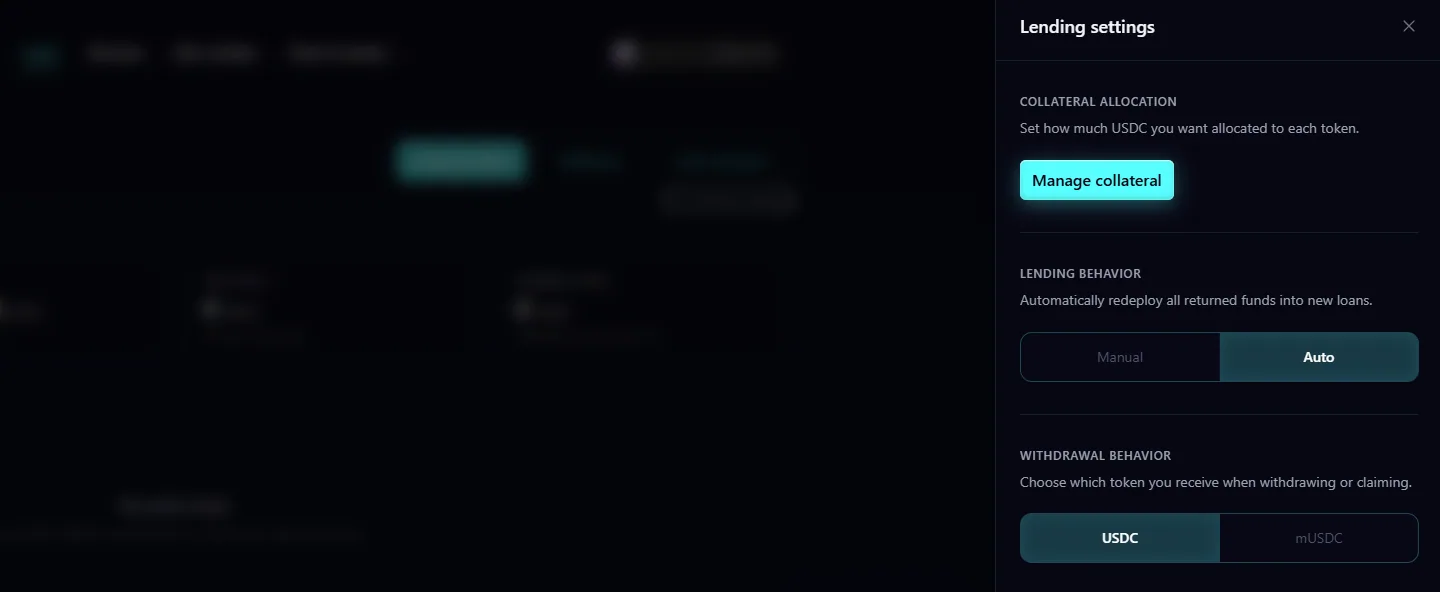
Idle USDC earns passive yield through the mUSDC vault automatically while it waits for a loan match.